Showing posts with label tutorial. Show all posts

Sunday, January 30, 2011

Cabbage buns how to.......

                     
The last of the "Cinderella Pumpkin" and "Late Dutch Cabbage" from the root cellar. The cabbage has been in storage for 6 months and when in storage for this long, the color tends to fade from the leaves, although it keeps the same crisp texture and flavor, after.................
You peel away the dehydrate and thin leaves, so as time progresses, the original head will be smaller, after you peel away the outer dried and thinned leaves


The head with all dried and thinned leaves peel away, it still weighs 8-10lbs. The leaves taken off will be fed to the chickens, they love them!
All chopped and ready to be added to the browned burger. The burger is browned with onions, lots of minced garlic( we love it!), sea salt and pepper. Then the cabbage is added with about 1/3 c of water to steam over low heat.  While this is steaming, we move onto making our whole wheat bread dough.

The recipe for this bread dough is found here

                                   This is our first double yolk egg of 2011 :o)
                          Yeast added
      Mixing and adding alittle flour as needed. You don't want to add to much flour, as your bread will be dry and crumbly.
    It's okay if your dough is sticky. You'll want to lightly flour the work surface and commence kneading. I ALWAYS knead for a minimum of 8 minutes, sometimes 10 minutes, if needed for proper elasticity
                           Lightly flour your hand and knead with the palms of your hands.
     When 8 minutes of kneading is finished push your knuckles into the dough, it should spring back to shape if it has proper elasticity, if not, knead alittle longer and check again.
 Place in a well greased bowl in an area, warm and free of drafts, cover with a tea towel and let rise until double it's original size.
                         Covered and on the table next to the wood stove, let the rising commence!
   Since the Dutch cabbage was so pale, I added 1/4 head of red cabbage we also have stored in the root cellar.  Okay, that's alittle more interesting, but.... how about some
                   Carrots, another root crop from the cellar, as was the onion and garlic that were used 
 The first rise is complete and now............................
                       PUNCH it down, I love this part :o)   I always work the dough back into a well rounded ball and cover rise a second time.  When second rise is complete( about 15 to 20 minutes), punch down again and work into a nice shaped ball.   Pinch off the size, a little smaller than a baseball( see below)

 Pat it out flat, until approx. 1/4" thick and add 1/3c.( approx.) of the cabbage/ meat filling.
 Fold over and pinch down the edges, if some liquid is leaking, you can roll and pinch the edges for a better seal.
Here is the first pan, Ummmmm, Ummmm, sure wish you could smell them.  The bread recipe will make 12 cabbage buns. I doubled it so we'd have some for the freezer( quick spring or summer meals*wink*)

Now give it a try, you won't be disappointed :o)   Be creative you can also substitute a loose sausage, maybe spicy *wink*   Sometimes if I have cooked brown rice on hand I'll add 1 cup or so of that too. :o)
Just makes them more hearty and filling.   Enjoy!


Saturday, October 30, 2010

Making Kraut

Okay here is my disclaimer, if someone would share with me how to get videos to download onto Blogger. I did get one of the three videos, we made, to down load but the other two ( I tried twice) came up after an hour saying there was an error. They were all done on the same camera and basically the same length of time. They work great on my "Windows Media Player", so it's not the videos.
Below are some pictures we did take, but it won't be the same, sorry I'm so techno- challenged.

         This head of cabbage will make plenty of kraut, because I'm the only one who eats it in our house.
 Cut the head in half and remove the core.  The core is very tasty with a little salt, for those of you who enjoy turnip, radishes and kohlrabi.
 Now quarter it for easier handling in the kraut cutter
 This is a three blade cutter and fits nicely on top of a large bowl. I do have a larger cutter but it is bulky and hard to use, especially if you are only doing one or two heads of cabbage.
 This is a photo of the large cutter, it's only a two blade and actually shreds the cabbage much longer
 Place a quarter of cabbage in the cutter box, and add the lid, which you push down on as you draw the box back and forth across the cutters.  It takes some coordination to hold the board in place, draw the box to an fro, all the while pushing down on the lid, but it doesn't take long before you find a rhythm.
 It slices it evenly, quickly and without a whole lot of effort and if you are careful you won't even make much of a mess.  Once all you want cut in done, you'll need a crock or large glass container( I've used gallon glass jars before I found my 6 gallon crock at a garage sale 3 yrs. ago)  You'll want to make sure the container is clean, possibly even sterilize it with boiling water before packing in your cabbage.  Now add approximately 1/2 inch of shredded cabbage into the bottom of your container/ crock, now sprinkle with 1Tblsp. salt, may I suggest using sea salt or kosher salt, not table or iodized. Now use a large, heavy spoon or ladle or a wooden stomper and work the cabbage down, packing it tightly, now add another 1/2" layer of cabbage, more salt(you may use more than 1 Tblsp., I just don't like really salty kraut). Pack it tightly, you may begin seeing juice from the cabbage, you want this, thus the reason for the salt and packing the cabbage. Keep repeating this process until your container/ crock is with in 1 inch of the top or you've run out of cabbage. You should see quite a bit of liquid in your packed cabbage, if not don't panic, what you'll want to do is add enough boiled water( cooled to room temp) to cover your packed cabbage. Now you'll need to place a plate or wooden piece on top of the cabbage and push down until the liquid comes up around the plate, now add something heavy( I use an old sad iron) to keep it pushed down.  You'll now need to cover the top of your container, I use a flour sack towel, doubled over and held in place by a heavy duty rubber band.  Set in a well ventilated area( it will begin to smell, once fermintation begins)and a place that holds a temp of 65-70F. If it is warmer than that it ferments to quickly and often is spoiled and any cooler than that it will take longer to complete the fermentation. You'll notice bubbles and a sort of scum forming in the liquid( this is okay) but does need to be skimmed off once a week or as needed. If your liquid is diminishing you may add more boiled and cooled salt water, but ONLY if your kraut looks dry. When you skim the scum off the liquid, you can look at the cabbage and see if it is beginning to resemble kraut, it should also have a strong smell. After about two weeks take a taste and see what you think, if the cabbage is still crispy and doesn't have a transparent look you may want to let it keep going. If my memory serves me last year my kraut took between 3-4 weeks to suit my taste. When it's to your liking, you simply remove from crock/ container and heat slowly, stirring often, so you don't burn it, until hot.  Place into sterilized jars, seal and waterbath for 15 minutes.
Here is my crock about 1/3 full, which is plebnty for just me :o)  Now I wait*wink*  I hope this helps those wanting to try your hand at making homemade kraut. If you have any questions or anything that works well for you please leave a comment. You may also make kraut right in your pint or quart canning jars, see your Blue Ball Canning Guide for instructions.

Tuesday, January 26, 2010

How blessed are we.......

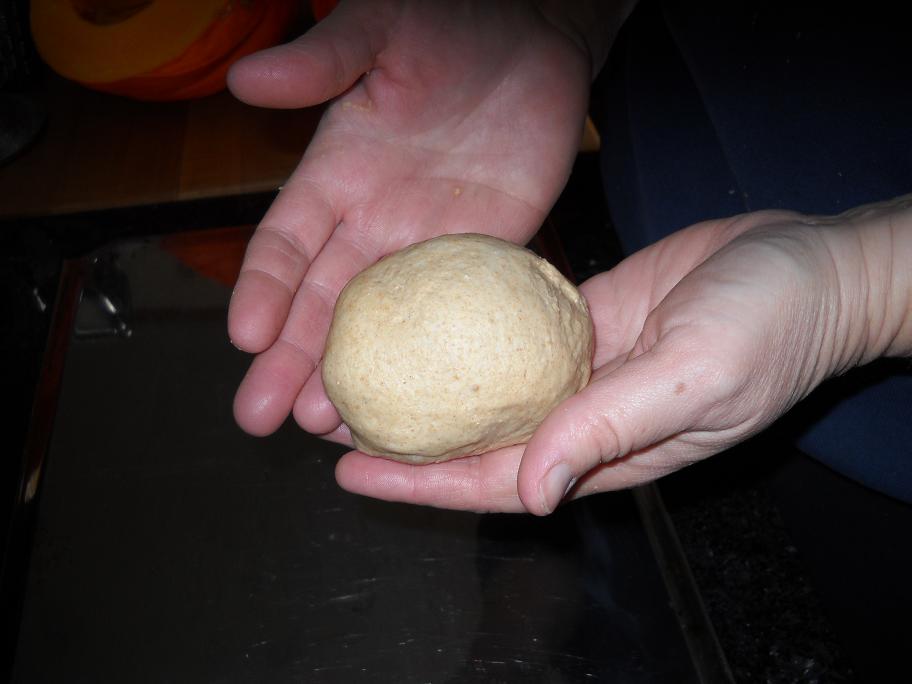
To have a refrigerator FULL of meat?
Everything wrapped in paper is heading to the meat shop to be cured
and smoked, possibly today. The zip lock bags( a dozen of them,
weighing approx 10lbs each) are the meat Cortney and I will be
making into loose sausage. I think we'll start tomorrow and work on
getting two batches a day ground, mixed and wrapped. This will leave
us time to do laundry, clean house, cook, chores, etc....

This is our second batch of fat for rendering, we cut the fat into smaller

pieces, they seem to melt quicker that way. If you click on the photo

you'll see the 1 tsp. of baking soda on top of the fat, this helps to give

a nice white lard.

We start it off on a trivet, until it gets melted some, then we place it on

a cooler spot on the wood cook stove, so it doesn't scorch. You'll want to

stir this often, to prevent the meat and bits( that settle to the bottom)

from sticking to the bottom of the pot.

I didn't get pictures of how we strain it, but what we use is a colander

lined with a loose weave muslin, or a cheese makers cloth,( NOT store

bought cheesecloth, it's to loose and will let settlement through) The

cheese makers cloth is held in place with cloth pins, to prevent

slipping down when you are pouring the hot lard. After it is strained,

the remaining fat and cooked bits(cracklings) are left to cool and

thoroughly drain. Once cool enough to handle, gather the cloth and

squeeze any excess lard out, then lay the cracklings out on wax paper

to finish cooling, then we place in containers and freeze.

This is the hot lard in a sterilized gallon jar. We also use wide mouth

quart jars. This is left on the counter to cool, before refrigerating.

Disclaimer: Don't add a hot glass jar to a cold frig or freezer it will

break!

This is after just 3-4 hours on the counter and is now cool enough to

refrigerate. See how nice and white this lard is?Let me tell you, you've

not eaten pie crust, pastries or homemade donuts as good as when

using this lard.

Click on photo for a closer look*wink*

Okay next blog will be step by step sausage making with recipes!

On a side not, let me share that our hens are now picking back up in

their egg production, we've gone from 2-3 eggs a day to up to 10 a day,

YEAH! , and the egg customers are glad for it too!

Yesterday was so.. exciting for Cortney and I, we've been checking

Addy, for any movement of her calf. Some days you think you feel

movement or was it just gas, LOL! Any way yesterday we both

without a doubt felt it moving, in fact it kicked Cortney's hand when she

gently pressed. Now we are so..... excited for Addy to calve mid to end

of April. Our last calf born here was still born from our old Jersey cow,

Bessie, so in the back of your mind you worry, or at least we do.

This Spring is going to be so fun, with a new calf and this year we'll

be ordering chicks and the possibility of Cortney raising bum

lambs until weaned too. That is one reason I look forward to Spring,

how about you? Maybe it's to early to dare ask this but, won't you please

share what you look forward to with the coming of Spring?

Related Posts Plugin for WordPress, Blogger...