The last of the "Cinderella Pumpkin" and "Late Dutch Cabbage" from the root cellar. The cabbage has been in storage for 6 months and when in storage for this long, the color tends to fade from the leaves, although it keeps the same crisp texture and flavor, after.................
You peel away the dehydrate and thin leaves, so as time progresses, the original head will be smaller, after you peel away the outer dried and thinned leaves
The head with all dried and thinned leaves peel away, it still weighs 8-10lbs. The leaves taken off will be fed to the chickens, they love them!
All chopped and ready to be added to the browned burger. The burger is browned with onions, lots of minced garlic( we love it!), sea salt and pepper. Then the cabbage is added with about 1/3 c of water to steam over low heat. While this is steaming, we move onto making our whole wheat bread dough.
The recipe for this bread dough is found
here.
This is our first double yolk egg of 2011 :o)
Yeast added
Mixing and adding alittle flour as needed. You don't want to add to much flour, as your bread will be dry and crumbly.
It's okay if your dough is sticky. You'll want to lightly flour the work surface and commence kneading. I ALWAYS knead for a minimum of 8 minutes, sometimes 10 minutes, if needed for proper elasticity
Lightly flour your hand and knead with the palms of your hands.
When 8 minutes of kneading is finished push your knuckles into the dough, it should spring back to shape if it has proper elasticity, if not, knead alittle longer and check again.
Place in a well greased bowl in an area, warm and free of drafts, cover with a tea towel and let rise until double it's original size.
Covered and on the table next to the wood stove, let the rising commence!
Since the Dutch cabbage was so pale, I added 1/4 head of red cabbage we also have stored in the root cellar. Okay, that's alittle more interesting, but.... how about some
Carrots, another root crop from the cellar, as was the onion and garlic that were used
The first rise is complete and now............................
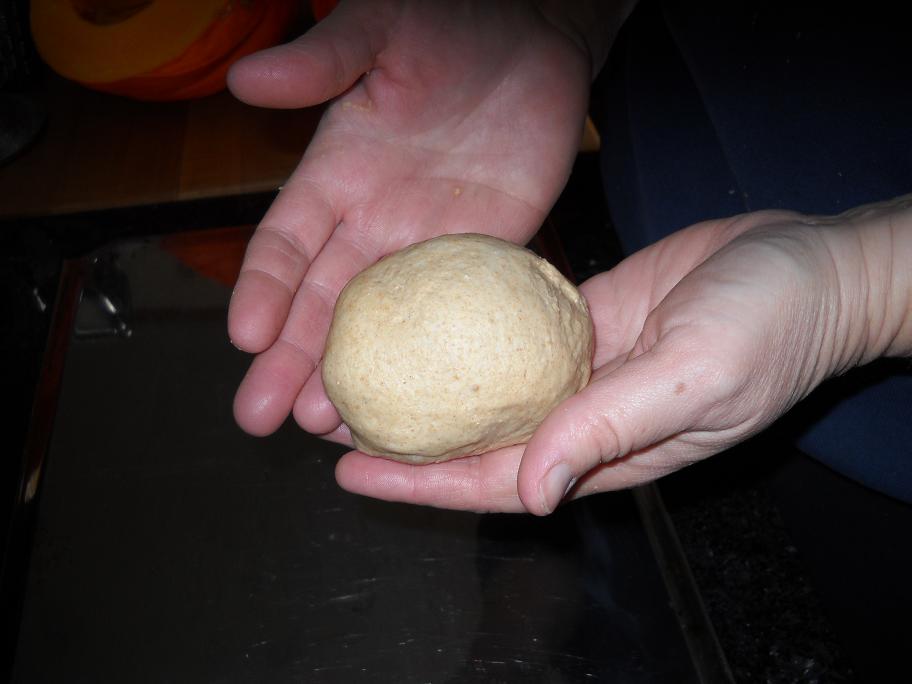
PUNCH it down, I love this part :o) I always work the dough back into a well rounded ball and cover rise a second time. When second rise is complete( about 15 to 20 minutes), punch down again and work into a nice shaped ball. Pinch off the size, a little smaller than a baseball( see below)
Pat it out flat, until approx. 1/4" thick and add 1/3c.( approx.) of the cabbage/ meat filling.
Fold over and pinch down the edges, if some liquid is leaking, you can roll and pinch the edges for a better seal.
Here is the first pan, Ummmmm, Ummmm, sure wish you could smell them. The bread recipe will make 12 cabbage buns. I doubled it so we'd have some for the freezer( quick spring or summer meals*wink*)
Now give it a try, you won't be disappointed :o) Be creative you can also substitute a loose sausage, maybe spicy *wink* Sometimes if I have cooked brown rice on hand I'll add 1 cup or so of that too. :o)
Just makes them more hearty and filling. Enjoy!